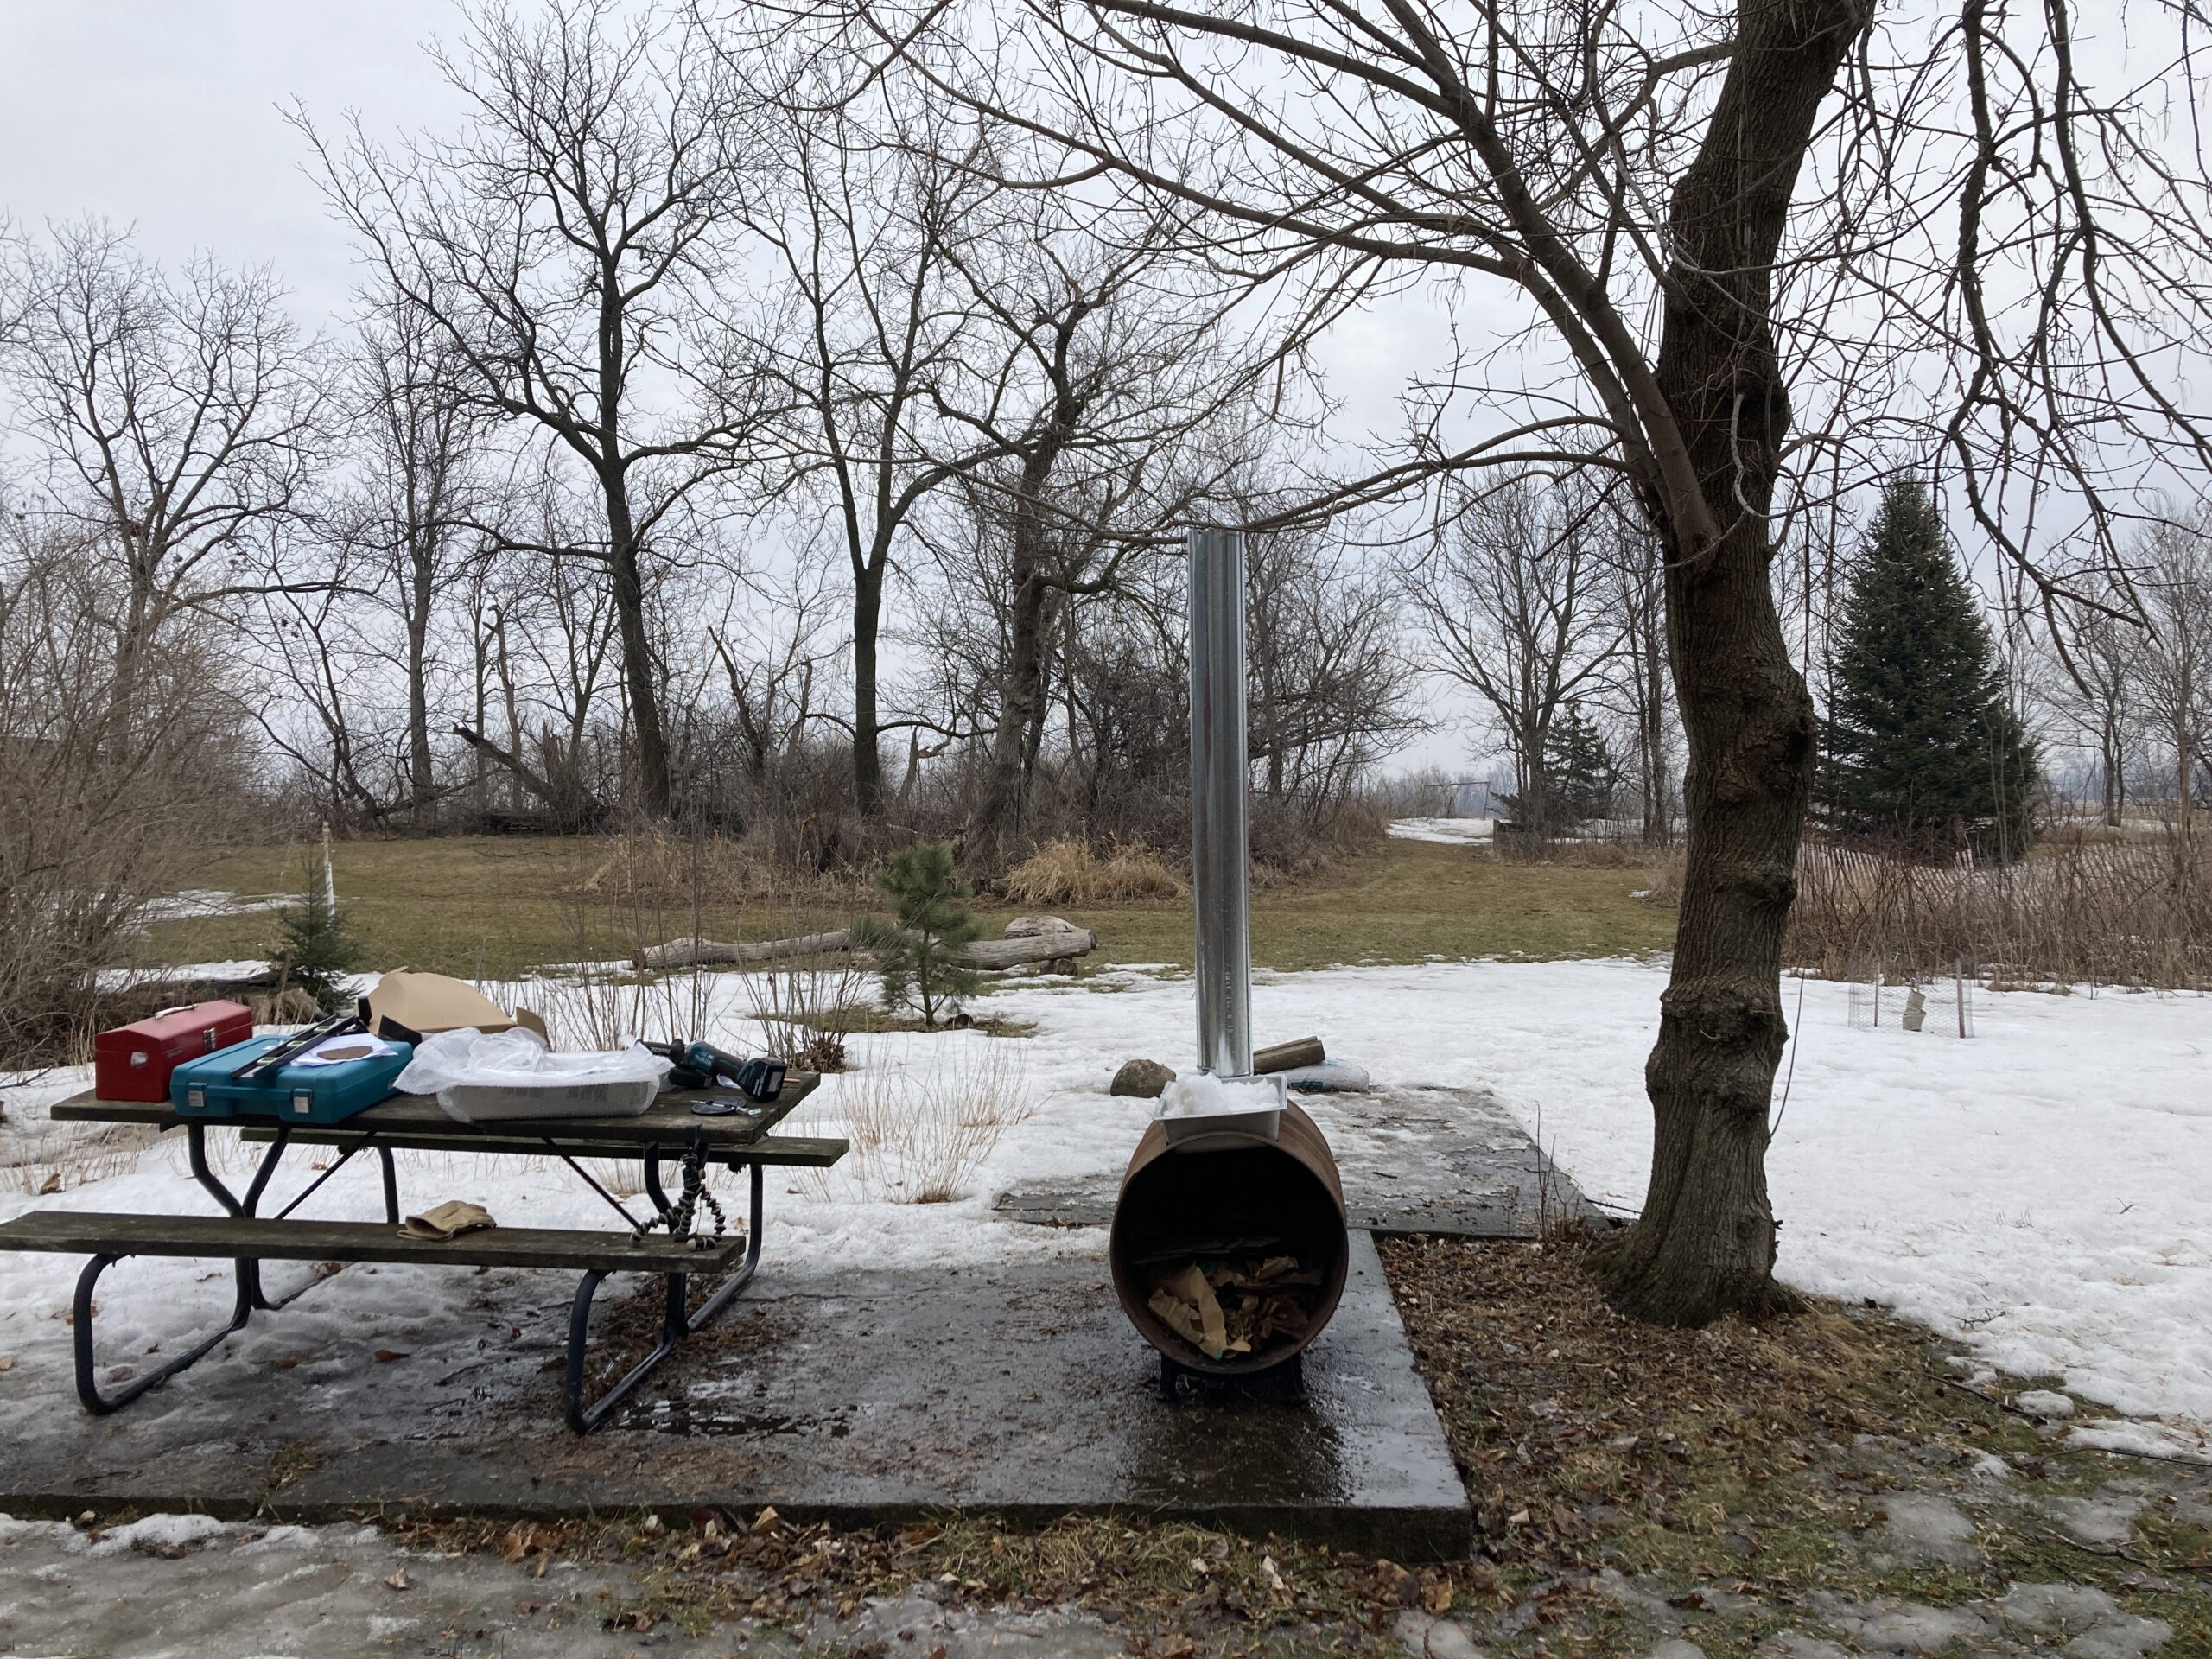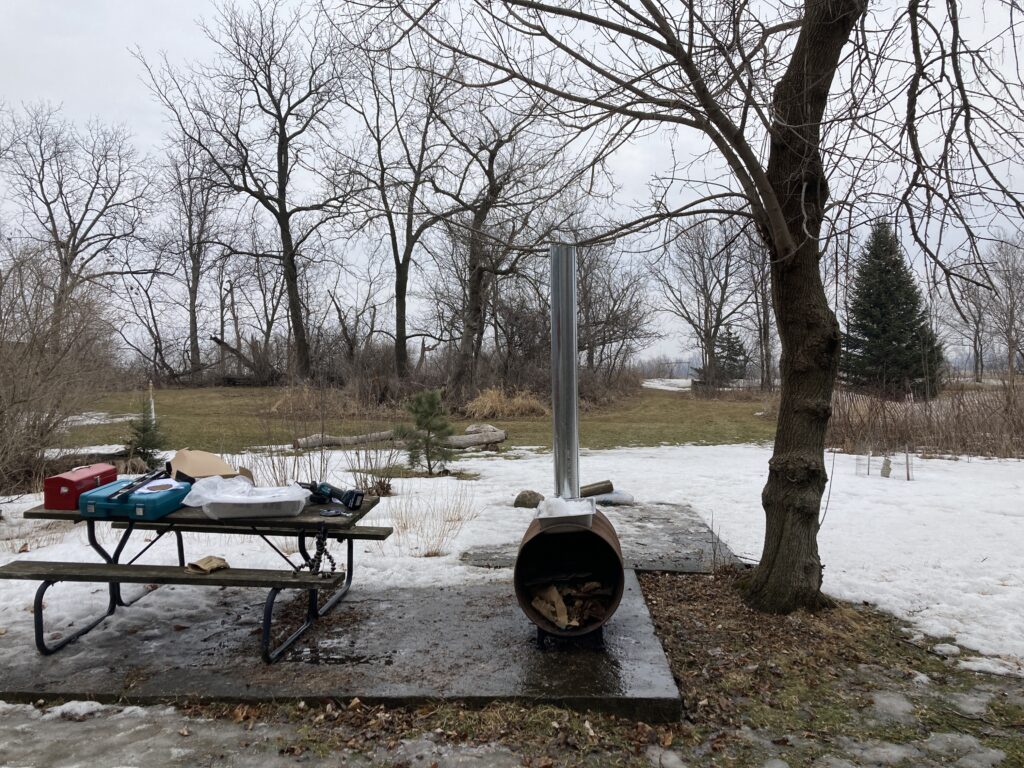
A DIY maple syrup evaporator, to help you make sweet, sweet tree juice.
And will it bring the taste of spring to your own table?
I’m getting serious about syrup making. Like real serious. A cuppella’ buckets of sap and a fire ‘tween cinder blocks juss ain’t gunna cut it anymore.
I may not be ready to turn pro, but the less time I have to stand alone watching water boil, the better.
This…is an instructional review.
Note: If you don’t like reading, watch the Youtube version here.
DIY’ing your own Maple Syrup Evaporator
In 2020 I dabbled, successfully, in creating two small jars of delicious maple syrup. In 2021 I missed the seasonal window. Real jobs don’t let you take off for perfect weather. Bullocks.
Since I was going to make syrup from my backyard, with a local recipe, I was going to use instructions from the region as well. Enter Kristen (aka Miss Northerner). She lives in the woods of Wisconsin and does woodsy-Midwesterny things. Including syrup making.
She started small as well but wanted to increase production. Teaming up with her fiance, they built an evaporator and provided step-by-step instructions on how to make one. Frugally.
The benefits to this would be two-fold. First of all, smoke from the fire would be directed away from the cooking sap, via a stovepipe on the back. Secondly, it should increase efficiency by containing the heat underneath the pans. Less wood, less time, more syrup baby!
The Requirements
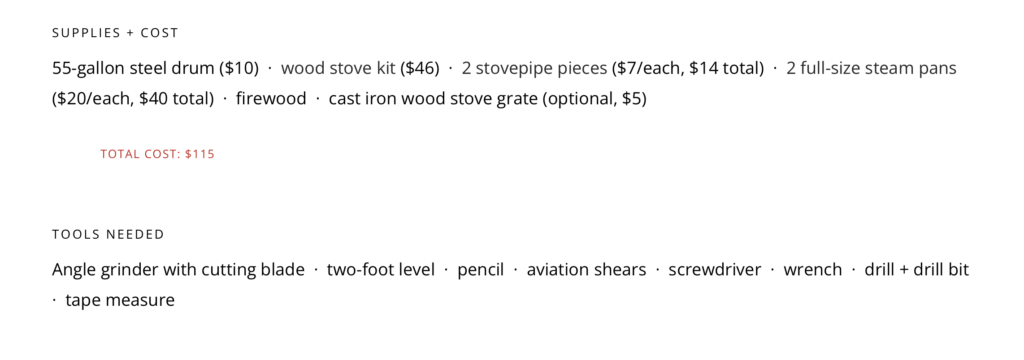
Her budget for this project was $115. Here’s what I found:
Pieces
- 55 Gallon Steel Drum — Free. Caveat, we owned some steel barrels, w/out tops. Full of dead mice. I could not find any locally, that was not a 50-minute drive or coming from TX. Beware FB marketplace idiosyncrasies. $0
- Wood Stove Kit — Currently $53.33 on Amazon. Prices as high as $67
- Two Stovepipe Pieces — No idea why I bought the one I did, $17 for one silver pipe. Currently $5.99/each at Menards. Pick it up in-store or pay $13 shipping.
- Two Full-Size Steam Pans — I went cheap, she went deep. Her’s are bigger = more sap. Mine are currently $14/each, hers are $28. $28 total for me.
- Firewood — Free. Our trees fall all the time and no one likes campfires. Note, it takes a lot. $0
- Cast Iron Stove Grate — I didn’t use one. $0
- Sand — Not mentioned in the original list. This is the best deal on Amazon, I’d say go anywhere with a garden center. I had some left over from last year. 60 pounds, $6
Total spend on materials: $104.
I feel like I lucked out on a couple of things here, and this is also pre-sales tax. Or extra shipping, fuel for picking up in-store, etc.
Tools
- Angle Grinder w/cutting blade. You do need this, I did not own one. But I had the batteries — $160, you can spend more or less.
- Two-foot level — I mostly eyeballed it and it was ok, not a bad idea to have one. Had one. $0
- Pencil — Had some. $0
- Aviation Shears — Didn’t have, bought, and didn’t use. $9
- Screwdriver — Have a variety. $0
- Wrench — Samesies. $0
- Drill + Drill Bit — Luckily, I own one. Regular bits didn’t work, I used a step drill for use on sheet metal. Hopefully, I didn’t ruin it. $8
- Tape Measure — Get one if you don’t have one. $0
Total Spend on Tools: $177
By not owning everything ahead of time, I was in deep here. Also, I used one cutting wheel for the grinder, you may need a second for all the cuts.
The Instructions
I appreciated how simple their instructions were.
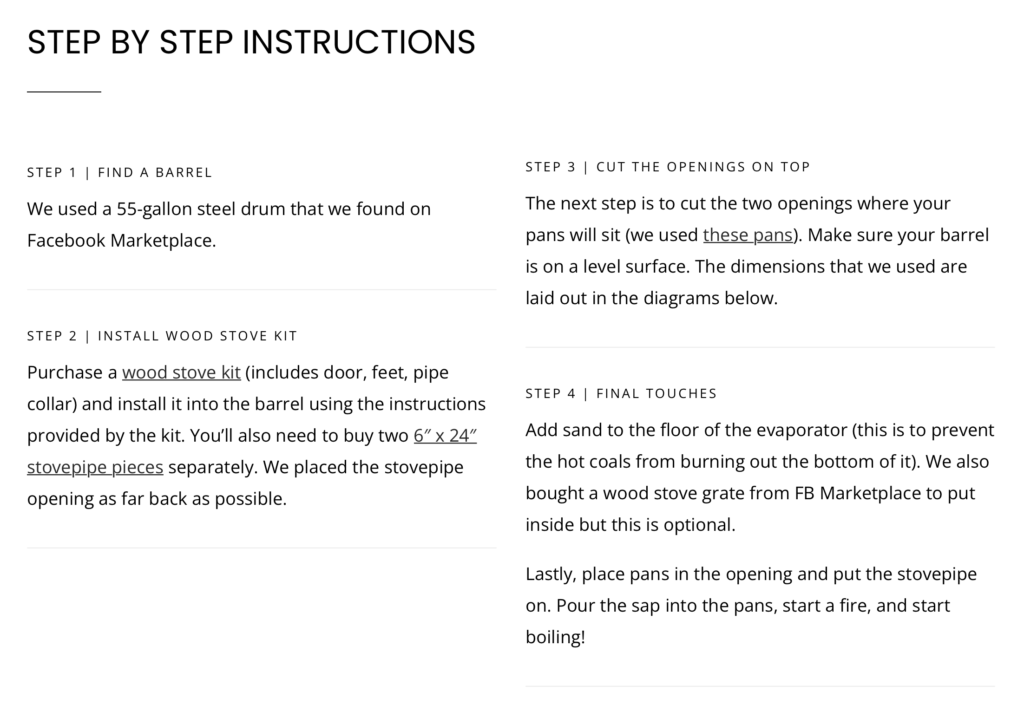
#1 — Might be easier said than done. Pro-tip, start looking the fall before your project build. Otherwise cutting this up will be very cold.
#2 — So meta, stove kit instructions within instructions! Put that pipe opening far back. This is where it calls for sand. Don’t fill it till you have it where you want. Do all the protections, eyes, ears, hands. I had a hard time getting the holes lined up with the hardware.
#3 — I accidentally missed this step. The part where they draw out the opening. I recommend trying it, as I was only able to fit one pan. I think I can open the hole, and maybe with an old grill grate, I can support the two pants over the opening.
#4 — Oh I get it…wood stove grate. Like, in the stove. This could work, not sure if it is necessary. The stove pipe was hard to put in, I had to fold in the bottom to shove it in. I don’t think the damper fits inside, I removed it and used screws to hold the stove pipe in place.
Notes

I agree with the notes completely. My barrel had no color so it didn’t matter. I would say, run a test-fire through there or clean the barrel before use. Whatever was inside before likely is not what you want cooking your syrup. Mine was full of dead mouse nests…yeah it didn’t smell good.
Without a front for the door pieces, smoke and heat was lost out the front. It was easier to feed the fire but I think finding a complete barrel to work with will be more efficient and control smoke better.
Final Thoughts
If you’re ready to step up your syrup-making game, you need a decent evaporating plan. With a little forward-thinking, you can be ready to fire up whenever Mother Nature decides it is sap flow time.
And if this just isn’t the right time to build an evaporator, don’t fret. I made my first batches over an open fire with bricks, cinder blocks, and an aluminum pan.
Watch for my next article where I try out the State of Minnesota’s instructions on actually making the syrup!
Watch the process on Youtube Here!
For more information on everything Midwest, especially Wisconsin, follow Miss Northerner on Instagram and check out the rest of her blog.

This post contains affiliate links. To learn how these support The Spur Trail, you can find everything here.
